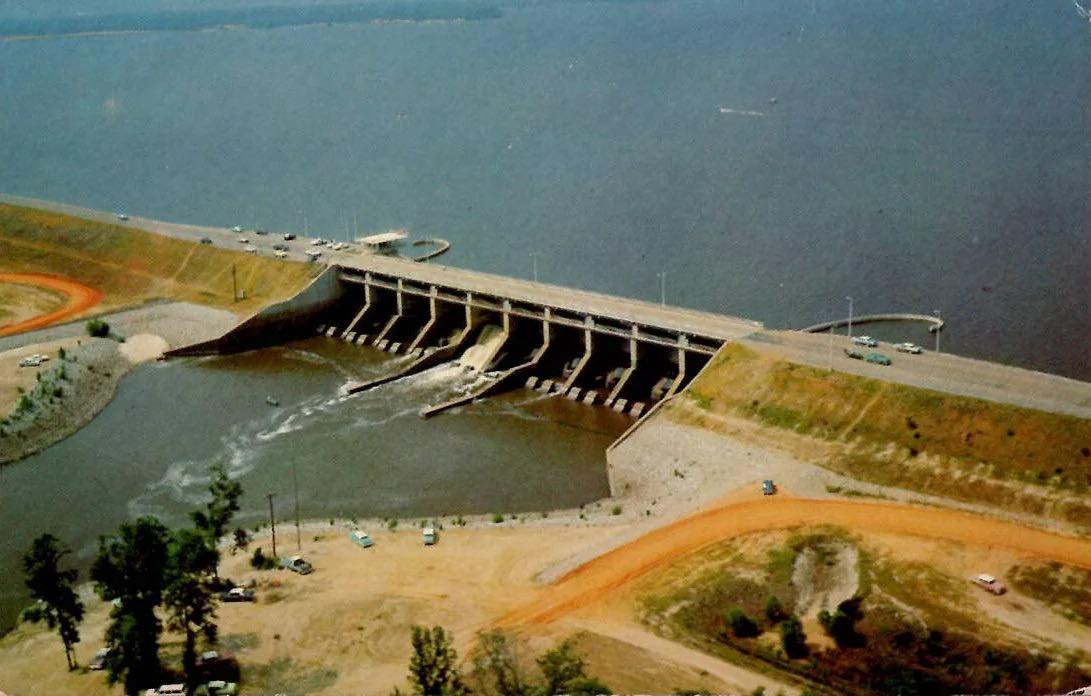
Ross Barnett Reservoir spillway in the 1960s, an example of a spillway designed for its environment
Why Convert to a Vented Ford?
For streams with low to moderate flow, converting your shallow water crossing to a vented ford with a minimum 12-inch culvert pipe embedded under the concrete surface can be an effective solution to allow water to flow underneath, preventing stagnation upstream while maintaining a usable crossing. For high-flow streams, like those exceeding 1000 CFS, solid crossings without underflow may be necessary to prevent washout, as professionally engineered designs often prioritize stability. Where applicable, the culvert reduces the time water trickles over the top, which can lead to algae, moss, and mold growth, making the surface slippery and dangerous. A textured concrete surface further minimizes standing water, enhancing safety. This "vented ford" design is best for streams with manageable flows, with overflow handled by the low-profile surface.
Benefits of the Vented Ford Design (For Suitable Streams)
- Prevents Stagnation: In low-flow streams, water flows through the culvert pipe, avoiding pooling upstream.
- Reduces Algae, Moss, and Mold: Less standing water, combined with a textured finish, minimizes hazardous growth and slipping risks in applicable conditions, though regular rain may suffice in some cases.
- Maintains Usability: The low-profile concrete surface supports vehicles and pedestrians.
- Handles Overflow: Designed to allow high flows to pass over without damage in streams where culverts are feasible.
Steps to Convert Your Concrete Shallow Water Crossing
Follow these steps to modify your existing concrete shallow water crossing into a vented ford with a ~12-inch culvert pipe, suitable for small streams (10-15 feet wide) with low to moderate flow (e.g., up to 10-15 CFS). For high-flow streams (e.g., over 1000 CFS), consult a professional engineer, as culverts may risk washout, and solid, anchored designs may be required, as seen in some engineered crossings. Always check local regulations for permits.
- Assess the Existing Crossing:
- Measure the stream width, depth, and typical flow to confirm a 12-inch pipe is sufficient (handles ~10-15 CFS for short crossings). For high-flow streams (e.g., over 1000 CFS), consult an engineer to determine if a culvert is feasible or if a solid crossing is needed to prevent washout.
- Inspect the concrete for cracks or instability. Ensure the streambed is firm (e.g., gravel or rock).
- Plan the Culvert Installation:
- Determine the pipe length (e.g., 15-20 feet to span the stream and banks).
- Choose a 12-inch diameter culvert pipe (HDPE plastic or corrugated metal for cost-effectiveness).
- Remove or Modify the Concrete:
- Break up the concrete section over the streambed using a jackhammer or heavy equipment, creating a trench ~14-16 inches wide and 6-12 inches deep.
- Preserve stable concrete on the banks for reuse if possible.
- Prepare the Streambed:
- Clear debris and level the trench with a slight downstream slope (1-2%) to ensure flow.
- Add a 4-6 inch layer of compacted crushed stone as a stable base for the pipe.
- Install the Culvert Pipe:
- Lay the 12-inch pipe in the trench, aligning the inlet slightly below the upstream streambed to capture low flows.
- Secure pipe sections (if multiple) and backfill with compacted gravel around the pipe.
- Pour New Concrete Surface:
- Pour a 6-8 inch thick concrete slab over the pipe, extending 1-2 feet beyond the pipe to tie into existing concrete or banks.
- Use rebar or wire mesh for reinforcement. Keep the slab low (4-6 inches above the streambed) to allow overflow.
- Slope the surface slightly downstream to shed water.
- Consider adding a textured or grooved finish (e.g., broom finish or shallow channels) to prevent standing water during light drainage, reducing mold, algae, and slipping hazards.
- Stabilize Pipe Ends:
- Place riprap (large stones) or concrete blocks around the pipe’s inlet and outlet to prevent erosion.
- Consider a removable grate at the inlet to block debris, keeping the pipe clear.
- Test and Maintain:
- Check the pipe for flow after installation to ensure no upstream pooling.
- Inspect after rain for erosion or debris. Clean the pipe inlet as needed.
- Monitor the concrete for cracks and repair promptly.
Tips and Considerations
- Flow Capacity: For streams with high flows (e.g., over 1000 CFS), consult an engineer, as culverts may not be suitable due to washout risks. A 12-inch pipe is ideal for low to moderate flows (up to 10-15 CFS).
- Cost: Expect $1,000-2,500 for a 15-foot crossing (pipe: $10-20/foot, concrete: $100-200/cubic yard, riprap: $50-100/ton).
- Permits: Contact your local environmental agency, as stream work may require permits.
- Surface Texture: Use a textured concrete finish (e.g., broom finish) to prevent standing water, minimizing mold, algae, and slipping risks, especially during light drainage. Regular rain may reduce algae in some crossings.
- Safety: The culvert and textured surface reduce algae/moss in suitable streams, but regular cleaning may still be needed after heavy overflows.
⚠️ Important Disclaimer
This guide is provided for general informational purposes only and does not constitute professional advice. Maintenance involving stream modifications or heavy equipment should be performed with care and appropriate safety precautions.
Smortler, LLC and the author make no representations or warranties regarding the completeness, safety, or applicability of this information to your specific situation. You assume all risk for any actions you take based on this guide, and we recommend consulting a licensed engineer or contractor if you have any doubts or safety concerns.
By using this guide, you acknowledge and accept these terms.