Kitchen Countertop + Cabinet Cut Sheet
Prepared for Kim and Kevin's Carriage House Kitchen
Dimensions are in inches. Verify in the field before final cuts (especially the apron-front sink).
INSTALLER NOTE: Farmhouse/apron sinks commonly require field measurement for the final countertop cut line and reveal choice. Also confirm appliance clearances, vent path, and service access before locking cabinet locations.
⚠ Carpenter Cut Summary (Cabinet + Countertop Critical Dimensions)
Microwave Drawer Cutout (GE PWL1126SWSS)
- Standard Cutout Width: 22 1/8"
- Standard Cutout Height: 14 13/16"
- Minimum Depth: 23 1/2"
- Note: These are the standard install numbers, not flush-inset numbers.
Dishwasher Opening (GE PDT145SSLSS)
- Opening Width: 18"
- Opening Height: 32 1/2" minimum to 34 3/4" maximum
- Opening Depth: 24"
- Door / Front Clearance: 23 1/8" minimum in front
Pull-Out Trash Cabinet (Rev-A-Shelf 4WCSC-1835DM-2)
- Minimum Opening Width: 15"
- Minimum Opening Depth: 21 3/4"
- Minimum Opening Height: 20 5/8"
- Unit Overall Size: approx. 15" W × 21 3/4" D × 20 3/8" H
Electric Range Space (GE JAS640RMSS)
- Cabinet Width / Appliance Width: 24" class (actual width approx. 23 7/8")
- Overall Depth: 28"
- Depth Without Handle: 25 3/4"
- Height to Cooking Surface: 36 1/4" ± 1/4"
Range Hood (Whirlpool WVW53UC0LS)
- Nominal Width: 30"
- Canopy Depth: approx. 17 9/10"
- Bottom of Hood Above Electric Range: 24" minimum
- Suggested Maximum Above Cooktop: 36"
- Duct: 6" round
Farmhouse Sink (Ruvati RVL2182WH)
- Minimum Base Cabinet: 33"
- Exterior: 30" W × 18" D × 10" H
- Bowl: 29" W × 17" D × 9" bowl depth
- ⚠ Countertop Cutout: Template from actual sink before cutting.
- Confirm reveal style: Flush vs slight reveal BEFORE final cut.
Refrigerator Space (GE GLE12HSPSS)
- Overall Width: 23 1/2"
- Overall Height: 70"
- Overall Depth: 26 1/2"
- Air Clearances: 1/8" each side, 1/8" top, 1" back
- Depth @ 90° Door Open: 47 3/8"
Kitchen Faucet (Delta 9659-BL-DST)
- Overall Height: 19 5/8"
- Mounting: 1-hole or 3-hole with optional escutcheon
- Hole Size: 1 1/4" to 1 1/2"
- Important: Verify faucet setback to backsplash/window trim before drilling countertop.
Kitchen Sink - Ruvati Fiore 30" White Fireclay Farmhouse Workstation
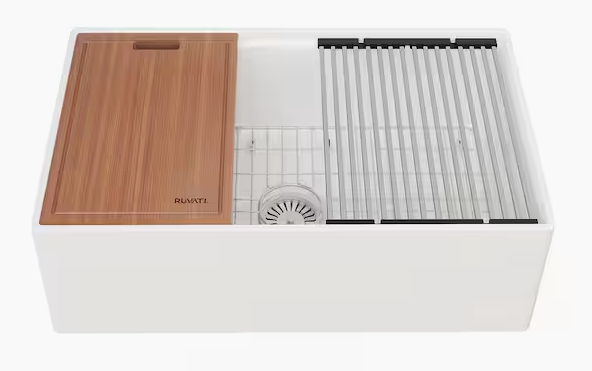
Reference image - used for identification
⚠ SINK CUTOUT WARNING (DO NOT CUT FROM “SUMMARY DIMS”)
The Ruvati RVL2182WH farmhouse sink must be templated from the actual sink / manufacturer template
before the countertop is cut. Farmhouse/apron sinks vary by reveal choice and lip geometry.
Reference this page’s “Carpenter Cut Summary” cutout sheet at the top for cabinet opening notes and cut-critical guidance. If anything conflicts, template wins.
Sink: 30" W × 18" D × 10" H • Bowl: 29" × 17" × 9" deep • Min Base Cabinet: 33"
Reference this page’s “Carpenter Cut Summary” cutout sheet at the top for cabinet opening notes and cut-critical guidance. If anything conflicts, template wins.
Sink: 30" W × 18" D × 10" H • Bowl: 29" × 17" × 9" deep • Min Base Cabinet: 33"
Dimensional Summary
| Exterior (W × D × H) | 30 × 18 × 10 |
|---|---|
| Interior Bowl (W × D) | 29 × 17 |
| Bowl Depth | 9 |
| Minimum Base Cabinet | 33 wide |
| Drain Opening | 3.5 |
| NOTE: | Countertop cutout must be templated from the actual sink / manufacturer template (do not cut from these summary dims). |
Cut / Build Notes
- Countertop cut: confirm reveal choice (flush vs slight reveal) before final cut.
- Support: ensure solid support rails/ledger framing for fireclay weight.
- Faucet clearance: confirm setback to backsplash/window trim before cutting.
Kitchen Faucet - Delta Trinsic Spring Spout Pull-Down • Matte Black
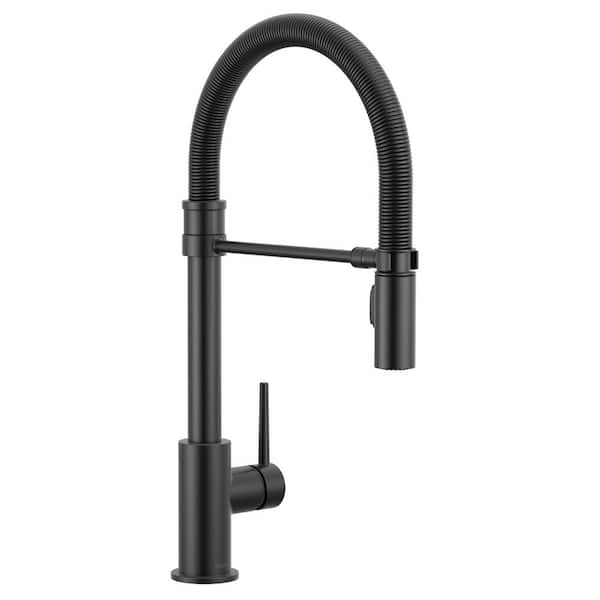
Reference image - used for identification
Dimensional Summary
| Overall Height | 19.63 |
|---|---|
| Install Type | 1-hole or 3-hole with optional escutcheon |
| Countertop Hole Size | 1 1/4 to 1 1/2 |
| Spout Swivel | 360° |
Cut / Build Notes
- Backsplash/window clearance: verify handle/pull-down hose clearance behind faucet.
- Hole planning: confirm whether you want the clean 1-hole look or 3-hole look with deck plate.
- Under-sink space: leave room for hose weight + smooth pull-down travel (avoid snags).
- Countertop drilling: confirm final faucet setback from sink edge before drilling.
Microwave Drawer - GE Profile 24" (1.2 cu. ft.)
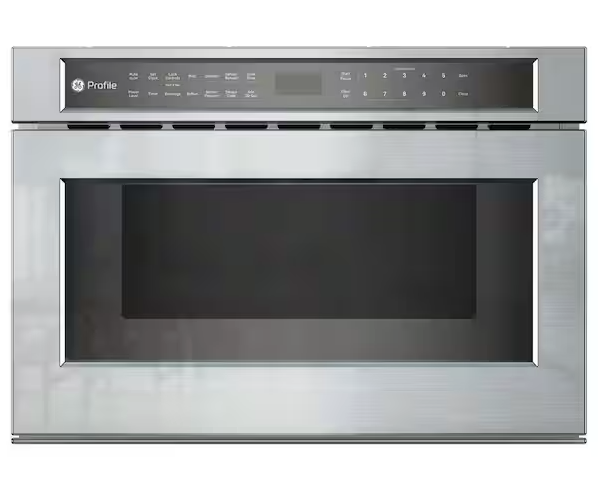
Reference image - used for identification
Appliance Dimensions
| Overall (W × H × D) | 23.88 × 15.94 × 23.31 |
|---|
Cabinet Cutout / Opening
| Standard Cutout Width | 22 1/8 |
|---|---|
| Standard Cutout Height | 14 13/16 |
| Minimum Depth | 23 1/2 |
| Install Type Shown Here | Standard install (not flush inset) |
- Plan blocking / stability per install instructions (drawer action).
- If you later switch to a flush-inset look, the opening dimensions change.
Electric Range - GE 24" Free-Standing (4 burner)
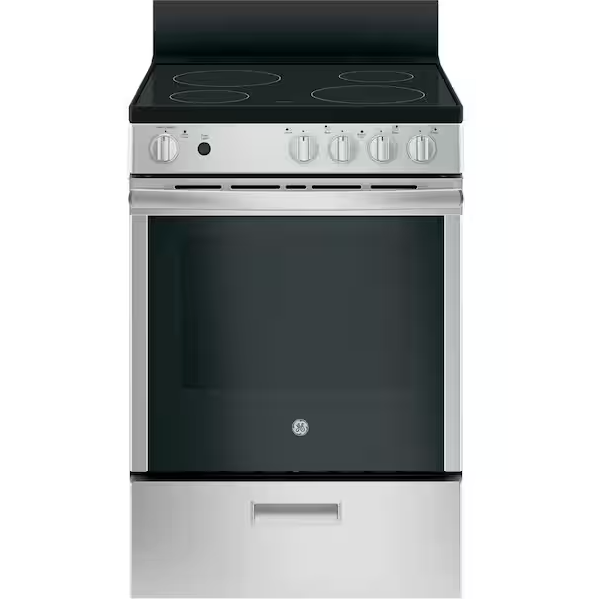
Reference image - used for identification
Appliance Dimensions
| Overall Width | 23 7/8 (24" class) |
|---|---|
| Overall Depth | 28 |
| Depth Without Handle | 25 3/4 |
| Height to Cooking Surface | 36 1/4 ± 1/4 |
Cabinet / Clearance Notes
- Cabinet opening is a 24" range space.
- Confirm outlet location so the range can sit back correctly without cord interference.
- Confirm side/upper clearances and electrical location per installation guide.
- Ensure cord routing doesn’t interfere with drawer/leveling.
Range Hood - Whirlpool 30" Chimney Wall-Mount (400 CFM) • Stainless Steel
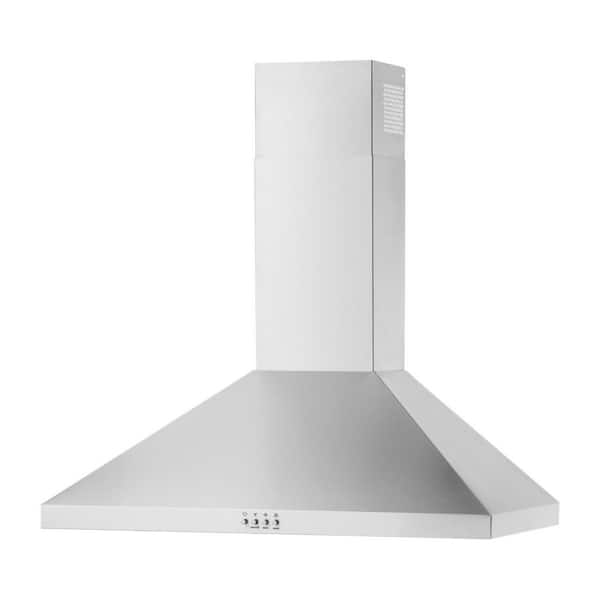
Reference image - used for identification
Dimensional Summary
| Nominal Width | 30 |
|---|---|
| Canopy Depth | 17.9 |
| Airflow | 400 CFM |
| Mounting Height Above Electric Cooktop | 24" minimum • 30" is fine • 36" suggested max |
| Duct Size | 6" round |
Install / Planning Notes
- Vent path: confirm duct route (up through ceiling/attic) before framing/soffit decisions.
- Power: plan the hood receptacle / hardwire location per the install guide.
- Centerline: align hood centerline with the 24" range centerline for best capture.
- Trim/ceiling: chimney height will be driven by your final ceiling height + duct offset.
Dishwasher - GE Profile 18" Top Control ADA (47 dBA)
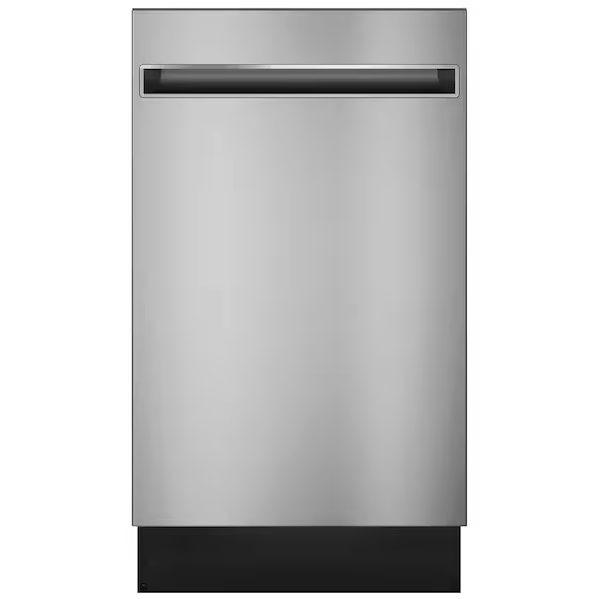
Reference image - used for identification
Cabinet Opening / Cutout
| Opening Width | 18 |
|---|---|
| Opening Height | 32 1/2 min to 34 3/4 max |
| Opening Depth | 24 |
| Product Depth (door closed) | 22.5 |
| Front Clearance (door open) | 23 1/8 minimum |
Space / Routing Notes
- Plan plumbing/electrical routing zones so lines don’t bind during slide-in.
- Confirm toe-kick depth and finished floor height before final set.
- Important: use 24" as the cabinet opening depth; 22.5" is the product depth with the door closed.
Refrigerator - GE Counter-Depth Bottom Freezer (11.9 cu. ft.)
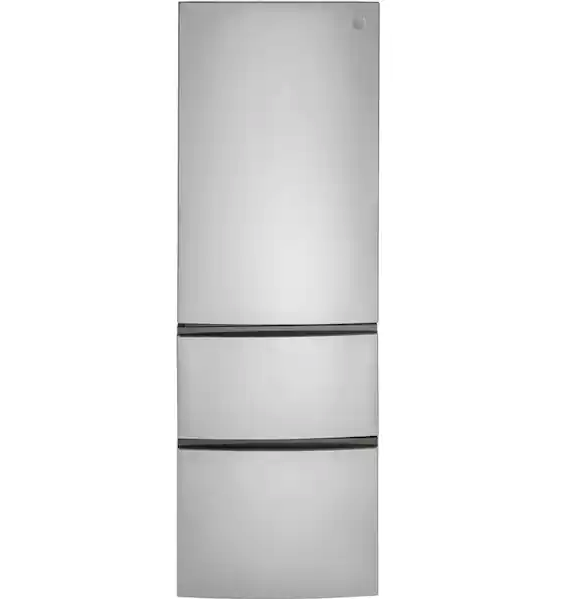
Reference image - used for identification
Overall Dimensions
| Overall Height | 70 |
|---|---|
| Overall Width | 23.5 |
| Overall Depth | 26.5 |
| Depth with Door Open 90° | 47 3/8 |
| Width with Door Open 90° incl. Handle | 24 7/8 |
Space Planning Notes
- Air clearances: leave 1/8" on each side, 1/8" above, and 1" behind.
- Confirm door swing clearance at nearby walls/panels.
- If boxing it in, do not build the cabinet opening exactly to the appliance shell size without the required air space.
Pull-Out Trash Can
Model:
4WCSC-1835DM-2
Bottom-mount double trash & recycling pull-out with soft-close slides
Home Depot Link
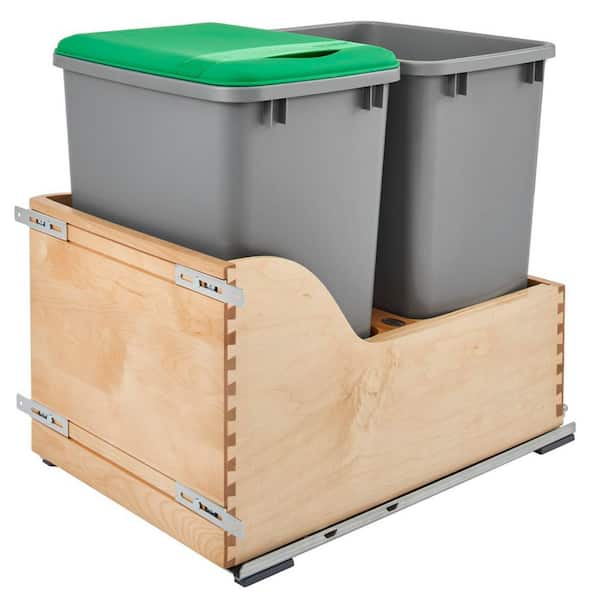
Reference image - used for identification
Product Dimensions
| Overall Width | 15 |
|---|---|
| Overall Height | 20.38 |
| Overall Depth | 21.75 |
| Minimum Opening Width | 15 |
| Minimum Opening Height | 20 5/8 |
| Minimum Opening Depth | 21 3/4 |
- Includes two 35-qt bins, ideal for trash + recycling.
- Full-extension soft-close slides for smooth pull-out/close operation.
Install / Planning Notes
- Bottom-mount installation - ensure cabinet floor is flat and level before mounting.
- Use included adjustable door mount brackets to attach your cabinet door to the pull-out front.
- Confirm plumbing/garbage disposal lines won’t interfere with pull-out travel before final installation.
- For cabinet planning, use the minimum opening dimensions above, not just the overall unit size.